How to Turn Photos into a PDF That Looks Right on the Page
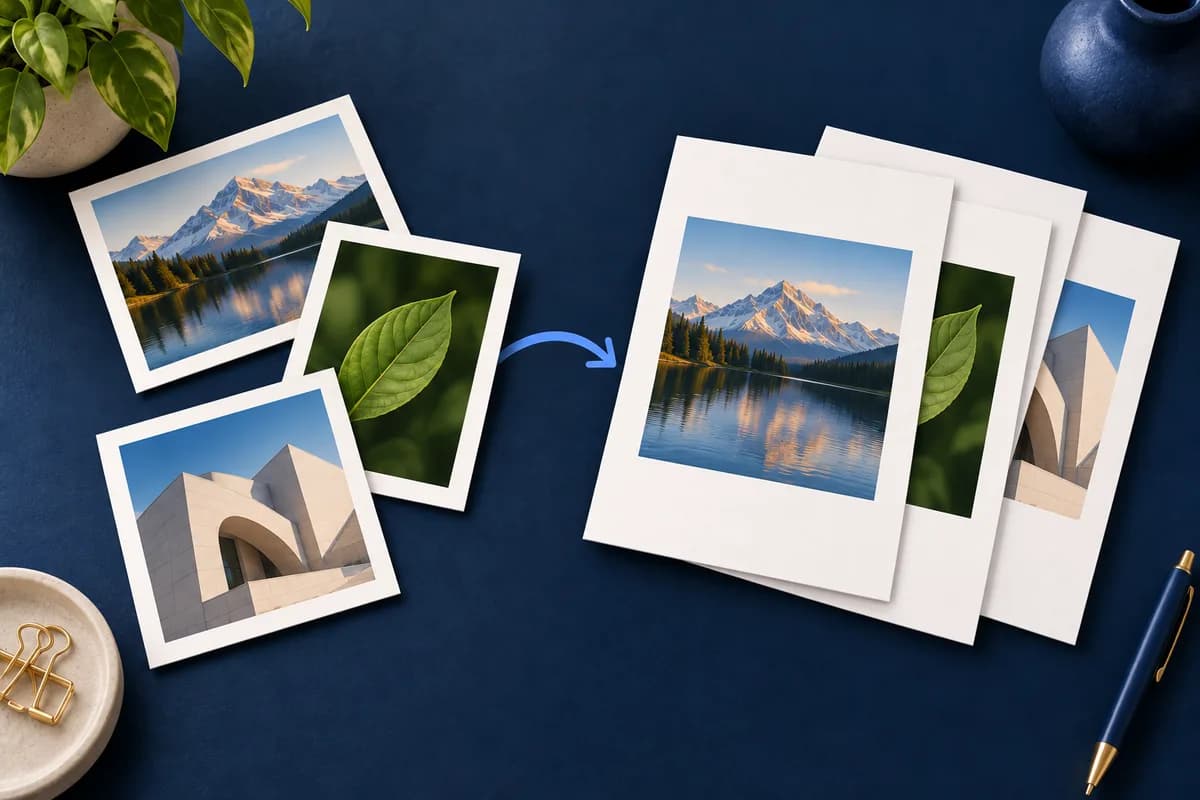
You have six photos to send, but the form accepts one PDF. Converting them is the easy part. Getting the pages in the right order, keeping the text readable and avoiding an unexpectedly huge white border takes a little more attention.
SyncTonight's Image to PDF tool puts each image on its own page. You can choose the paper size, set margins and move or resize an image in the preview before downloading. Here is a sensible way to use those controls without spending ten minutes adjusting every photograph.
Have your images ready? Start with a small batch so you can check the layout before adding the rest.
Open Image to PDFStart with the images you actually want to send
Choose the original JPG, PNG or WebP files where possible. A screenshot of a photo usually includes less useful detail, and converting that screenshot to PDF will not put the missing detail back. For photographed paperwork, check that all four corners are visible and the smallest text is readable before you start.
Open the tool and select several images together. On desktop, you can also drop the files into the upload area. Each image becomes one PDF page: six images make six pages, not a six-photo collage on one sheet. Add more files lets you extend the batch without starting again.
If your phone saved a photo as HEIC, export a JPG or PNG copy first. The current uploader accepts JPG, PNG and WebP. It does not accept every format your camera app may produce.
Choose the page size before fine-tuning the image
A4 is a useful starting point for paperwork that someone will print. For a digital photo collection, Match image size avoids forcing every picture onto a standard paper shape. Auto orientation follows each image's proportions, so a wide photograph can get a landscape page while a tall one gets a portrait page.
| What you are sending | Page setup | What to check |
|---|---|---|
| Photos of documents | A4, portrait, 5 mm margin | Small text and page order |
| Wide product photos | A4, auto orientation, 5 mm margin | Whether the subject is large enough |
| A digital image collection | Match image size | Mixed page dimensions are acceptable |
| A small image that looks soft when enlarged | Advanced settings: Shrink only | The image may occupy less of the page |
There is no single best margin for every image. Start with 5 mm if you want a small inset. Choose None if you do not want an added page margin. That still may leave white space: a square image and a tall A4 sheet have different proportions. Keeping the whole square visible leaves unused space above and below it.
Preview zoom and image size do different jobs
This is the control distinction that matters most. The plus, minus and percentage controls change how closely you are looking at the preview. They do not make the printed image bigger. Reset view restores that viewing position.
To change the image inside the PDF, drag the image itself. Use its four corner handles to resize it while keeping its proportions. The downloaded PDF uses that position and size. Adjustments belong to the individual image, so making the first photo smaller does not resize the rest of your batch.
A handy approach is to choose the paper size and margin first, then make manual adjustments. Changing the main layout settings can reset positioning, and changing a margin can limit where the image fits. Use Previous and Next to inspect every page rather than assuming the first page represents them all.
Put the pages in a useful order
For a product enquiry, you might want the front view first, then the back, then a close-up of the detail. For a document, use the reading order. Filenames such as IMG_1042 do not tell the recipient much, so check the pictures themselves.
With three or more images, open Reorder images in Page Layout and use the move controls. The preview follows the moved image and shows its new page number. The reorder section currently appears only when there are more than two images; for a two-image batch, add them in the order you want.
Download once, then check the actual file
Enter a useful PDF output name, such as product-photos-october.pdf, and select Download PDF. Open the saved file before sharing it. Check the first page, the last page and any image you moved manually. Look at small text at a comfortable reading size rather than judging it from a thumbnail.
If the PDF is going to be printed, match the printer's paper size to the document. An on-screen margin does not guarantee that every printer can print to that edge. Make a single test print before committing a long batch.
When the result is not what you expected
- Too much white space: check the image shape against the paper shape, then review margins and orientation. Preview zoom will not change those gaps in the output.
- Text still looks blurry: inspect the source photo. A PDF container cannot recover detail that was never captured.
- Processing is slow: try fewer images, especially on a phone. The uploader allows up to 100 files and 100 MB total, but high-resolution images also need working memory. Individual images are limited to 25 megapixels and 16,000 pixels per side.
- The file is too large for a form: this tool is not a PDF compressor. Resize oversized source images before converting, while keeping the required text readable.
A couple of questions before you send it
Does converting a photo make its text searchable? No. This tool places the image into a PDF; it does not perform OCR. Does it send the selected photos to a conversion server? The conversion runs in your browser. Keep the tab open until the download finishes.
If you already have a PDF and only need to add these new pages to it, convert the images first, then use PDF Merger. The guide to merging and reordering PDF pages walks through that second step.
Found this helpful?
SyncTonight's tools and guides are free and always will be. If this post saved you some debugging time, a coffee goes a long way — no pressure, just appreciated.
☕ Buy me a coffee